


This option is great for preppers who don't want to buy equipment for food prep or those looking for an alternative food preservation method that will still work even after SHTF and the grid goes down. (h/t to ModernSurvivalOnline.com)
Some may consider food dehydration a modern practice made possible by modern gadgets and factory production, but you can do the same thing at home with common tools.
With this method, you don't need fancy and expensive gadgets. You can air-dry food at home using the power of the sun, warm temperatures and dry conditions.
Benefits of air-drying food
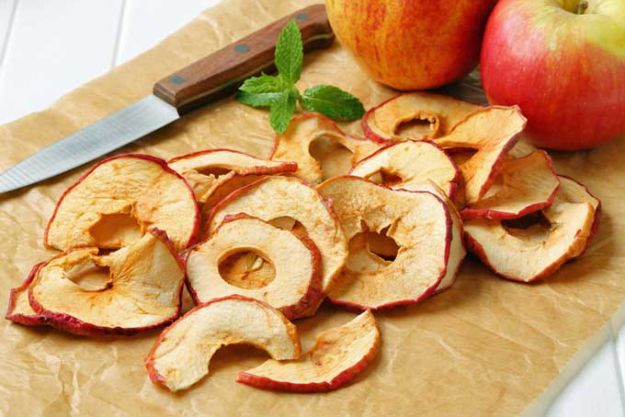
Air-drying is a food preservation process that removes most of the water from the fruit to help prevent spoilage. This process also concentrates the flavor and nutrition of the fruit, making it a valuable addition to your food storage plan.
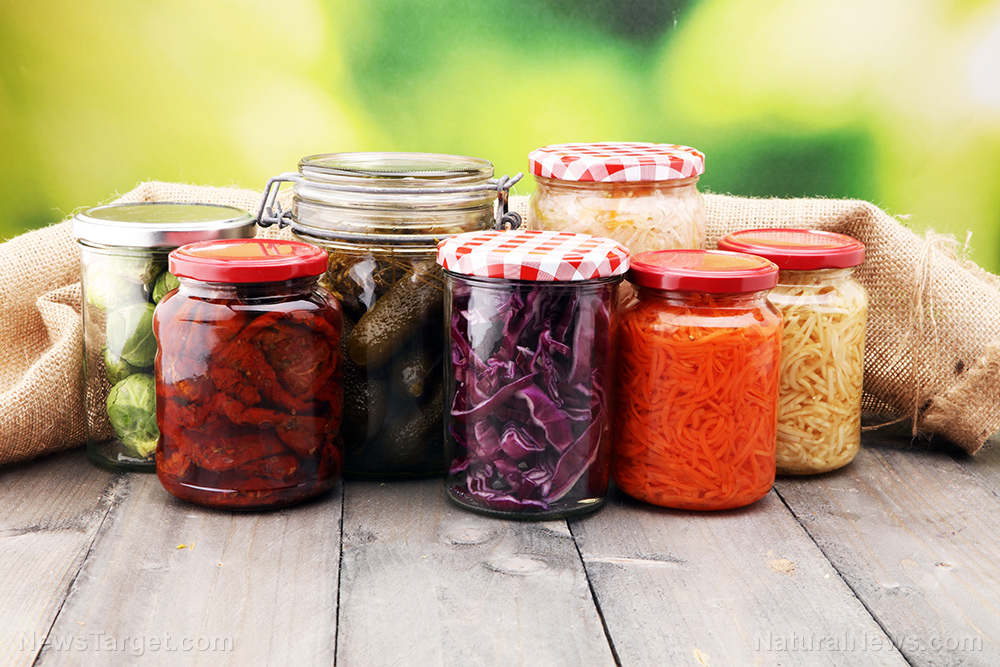
Air-drying can be used to preserve different kinds of food like fruits, vegetables or meat and it's a great skill to learn for preppers because it is sustainable and requires little to no equipment.
However, you do need to get the timing right when it comes to the weather.
Air-drying fruit can also help you save some money, especially if your family likes snacking on dried fruits, which are often overpriced at the grocery stores and supermarkets. (Related: Prepping skills: 15 Food storage and preservation methods to learn before SHTF.)
Best fruits for air-drying
Almost all kinds of fruit can be dried out if you follow the correct process. Just keep in mind that not all fruits are as palatable as others when dried.

Here are some of the best fruits to air-dry at home:
- Apples
- Apricots
- Bananas
- Berries
- Black currants
- Cherries
- Citrus peel
- Figs
- Grapes (Will turn into raisins.)
- Mangoes
- Melons
- Nectarines and peaches
- Pears
- Pineapples
- Plums and prunes
Each fruit will exhibit its own unique characteristics because of the drying process and as a finished product.
For example, apricots dry out more quickly and have a longer shelf life, but they are not as sweet as some other fruits. On the other hand, raisins are sweeter and chewier than grapes, but they might spoil rapidly if you don't monitor them during the drying process and handle them correctly.
If it's your first time processing a certain fruit, take note of your progress and mistakes and tweak your process depending on the results.
How to air-dry fruits
Air-drying is an easy and effective technique so use it to reliably air-dry different fruits. Before you get started, choose a day with warm weather.
The basic steps for air-drying are:
- Wash
- Peel and slice
- Treat
- Pat dry
- Cover and place
- Flip
- Continue
- Freeze
You'll need temperatures of at least 90 F for five days continuously in your area, with a humidity level of 30 percent or less for best results.
Note that you won't be able to dry fruit when temperatures are low or humidity is high. If the overall climate in your region won't allow you to dry fruit for the required time or is uncooperative, it might be best to find another way to dehydrate food.
Wash
First, thoroughly wash the fruit you want to air-dry. During this step, you need to remove all wax, dirt, grease and any other contaminants that could reduce the quality of the finished product or potentially make you sick.
Carefully wash the fruit in cool water and make sure you don't bruise or break the flesh. If you're using soft fruits that are very dirty, soak them in water for several minutes before gently brushing the dirt off.
Never use harsh chemical cleansers during this process because they might be drawn into the flesh of the fruit as moisture evaporates.
Peel and slice
Once the fruit is clean, peel and slice it. The fruit is peeled to improve the taste and texture of the finished product, but sometimes the skins add an interesting element and vital nutrition when certain fruits are dried.
How you peel the fruit will depend on the type of fruit you’re drying. But if you decide to peel the fruit, make sure you preserve as much of the flesh as possible.
Peeling is optional but recommended for some fruits like oranges because it makes them look and taste better when dried. After peeling the fruits, slice them to size so they will dry efficiently.
Slicing thickness is also a matter of personal preference but overall, thinner slices dry faster than thick ones. But make sure you don't slice them too thinly because the fruit will desiccate into nothing.
Try to slice the fruit in identical sizes so they will dry out at the same time.
Treat
Treating the fruits is optional but highly recommended, especially if you want to store the dried fruit for an extended period of time.
Slicing fruit exposes more surface area to the air, meaning it will also spoil faster. To prevent this, treat the sliced fruit with a weak solution of lemon juice or ascorbic acid (vitamin C) powder and a bit of water. The solution will help preserve the color and flavor of the dried fruit.
Pretreating the fruit is simple once it is peeled, sliced and prepped. Treat the fruit by mixing up the solution according to the package directions.
Submerge the sliced fruit in the solution completely for at least five minutes. You can reuse the same batch of ascorbic acid or lemon juice solution multiple times, but you'll only get about three uses before the solution loses its potency.
Make several batches of the treatment solution if you are processing a lot of dried fruit.
Pat dry
After the fruit has been treated, pat it dry with a clean cloth or paper towel. This step is important because wet fruit will not dry out properly.
Once done, place the fruit on a wire rack to drip dry. You can also place firm fruits inside a salad spinner to centrifuge most of the moisture off of them.
Gently blot off any remaining moisture or vitamin C solution. Don't crush or damage your fruit because it has already been through a lot during the treating stage and the quality of the finished product will reflect the prep and prior handling.
While you can skip this step to save time, it will affect the quality of the dried fruit and the pieces that are wetter than others may not dry evenly or might take considerably longer to dry.
Cover and place
The next step is to place the fruit pieces on a tray or pan and cover them so that you can place them outside to dry. Use a metal baking sheet or any other kind of flat cookware like a cookie sheet, cast iron griddle or large pan that is food safe.
Place the fruit directly on the pan and spread them out so none of the pieces are touching. While the fruit will shrink as they dry, you shouldn't overload the pan because this will only slow the drying process.
Next, cover the drying surface with a layer of cheesecloth, muslin, or other breathable fabric. Using fabric that is thin and airy enough will allow plenty of air and light to get through to the fruit but prevent birds, insects, dirt and dust from contaminating the fruit pieces.
Place the covered trays full of fruit pieces anywhere in a sunny spot outside. It's best to keep it away from the surface using a tray stand, a trivet, stones, bricks, or anything that will allow air and heat to circulate all around the pan. Placing the pan over a solid and non-porous surface made of metal, stone, or concrete is best because this will cut down the amount of moisture in the air around the fruit pieces.
Regularly check the fruit while it is drying on a tray outside to make sure stray animals or insects don't eat them.
Flip
Once the fruit has been drying for three to four hours, remove the cloth covering the tray and flip the fruit slices over to allow the other side to dry evenly. While intense direct sunlight, high temperatures and the drawing process will kill bacteria and other germs, some contaminants may persist or re-contaminate the fruit due to careless handling practices.
Wear gloves and use tongs to flip the fruit. This will reduce the number of bacteria and other contaminants that will come in contact with the fruit.
After you flip the fruit, recover it tightly and leave them in place. Adjust the position to keep them in the sun.
Continue to flip the fruit in the tray/s every three to four hours while the sun is up until the fruit is completely dry. The process may take a minimum of two days in ideal conditions with certain fruits.
Air-drying fruit can also take anywhere between several days to a week depending on the type and thickness of the fruit.
Always bring the fruits inside after the sun goes down and the day starts to cool off. This is crucial because plummeting temperatures and an increase in condensation during the night will negatively affect your fruit. The change in temperature and humidity may also spoil or hamper the drying process.
When the sun rises and the temperature starts climbing the next day, place the covered fruit trays back outside and repeat the process every three to four hours.
Once the fruit is properly dried, take a piece and cut or tear it open to examine the interior. Once the test piece is adequately dry, you are almost done.
Freeze
After drying and flipping the fruit, freeze it for several hours for long-term storage. This will help kill any remaining bacteria on the surface.
Freezing also helps reduce the risk of food poisoning and also extends the shelf life of the fruit.
Storage and cleanup
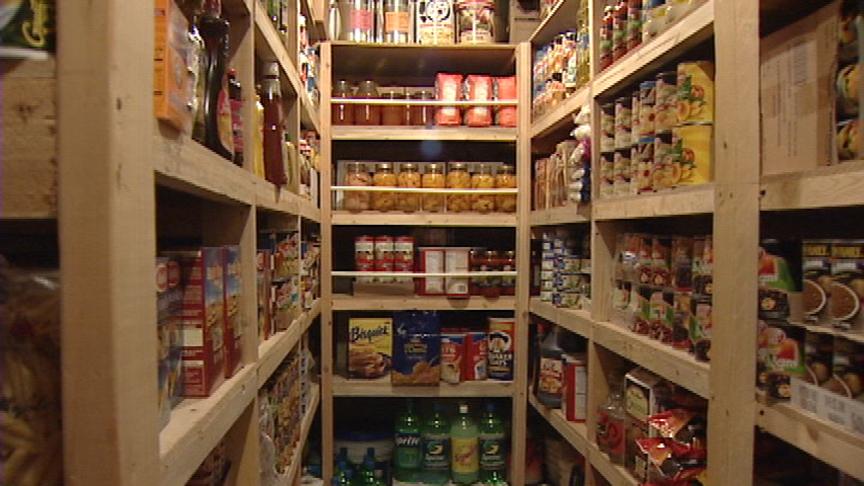
Once the air-drying process is done, store the fruit in an airtight container or in the freezer. You can store the fruit at room temperature for up to a year.
To extend the shelf life of air-dried fruit even further, freeze it in an airtight container. Air-dried and frozen food will last for up to two years or even longer.
Preserve fruits at home by air-drying to save money and build your stockpile before SHTF.
Watch the video below to learn about the four best options for long-term food storage.
This video is from the high impact Flix and more!!! channel on Brighteon.com.
More related stories:
Freeze-drying vs dehydration: Which is the best food preservation method?
Prepping tips: How to build a stockpile if you are lactose intolerant.
Apartment prepping 101: Pickling vegetables for long-term storage.
Sources include:


Please contact us for more information.

