


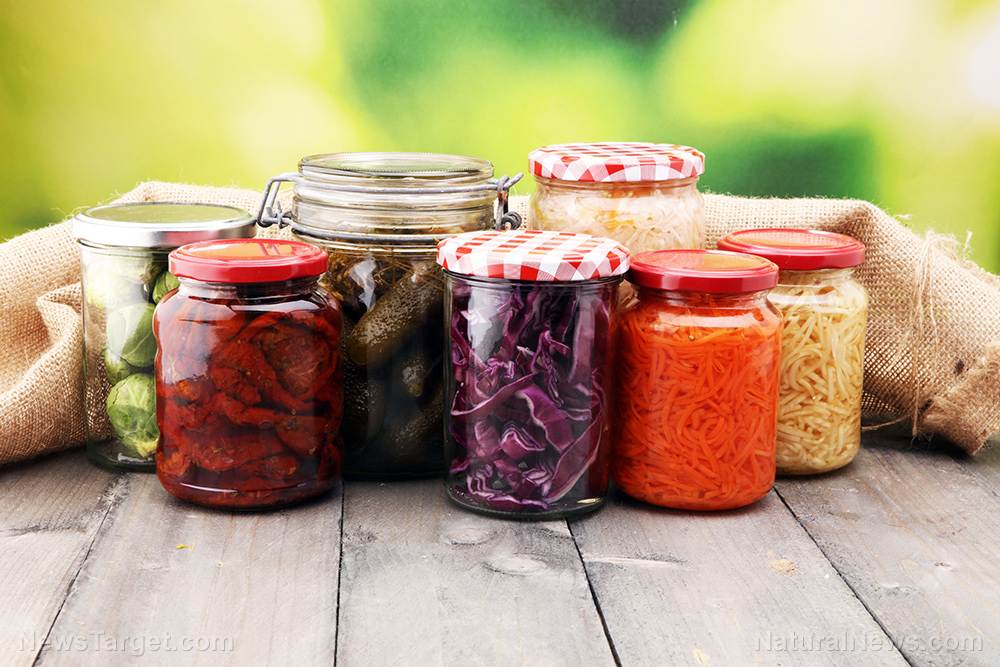
It will cost you less money and less effort to conserve fresh vegetables. You just need plenty of sterilized jars and the golden trinity of pickling –vinegar, water and rock salt.
The science of using vinegar for food preservation is simple: The acetic acid contained in the vinegar increases the acidity of the vegetables, kills off any microorganisms and effectively preserves the vegetables by preventing spoilage.
Preparing your pickled vegetable containers
- Begin by washing your glass jars and lids. You can reuse your glass jars but you will need new lids every time you pickle.
- Sterilize your glass jars and lids by placing them in a pot of cold water, then bring to a simmer for about 10 minutes.
- Use thongs to pull the glass jars and lids out of the hot water.
- Set your glass jars and lids on a rack to dry.
Preparing your vegetables
- Wash, peel and chop your vegetables to your desired size.
- Put your vegetables in a blanching basket, lower it into vigorously boiling water and place the lid on the blancher. The water should return to boiling within 1 minute, or too much vegetable is being used for the amount of boiling water.
- Start counting blanching time as soon as the water returns to a boil. Most vegetables take between 2-5 minutes.
- When the vegetables are done, quickly remove them from the boiling water with a slotted spoon and plunge them into an ice bath to stop the cooking process.
- Let your vegetables cool before putting them in the jars.

Final steps for pickling vegetables
- Place the vegetables in the sterilized jars leaving at least ½ inch space at the top.
- Fill the jar with brine, keeping the ½ inch space at the top. Leaving the ½ inch of space at the top is important because it leaves enough space in the jar for the pressure that will be produced once the vegetables start fermenting.
- Let the brine cool before placing the sterilized lids on the jars.
- Put the jars in the refrigerator. The vegetables will be ready in two weeks and will keep for at least four months.
If you want to preserve your pickled vegetables longer, you will have to process your jars in simmering water in the same pot you sterilized your equipment.
- Make sure the water completely covers the jar – at least two inches above the lid.
- Cover the pot.
- Bring the water to a boil and cook for 10 minutes then turn off the heat.
- Pull off the lid of the pot and wait a few minutes until the water is no longer boiling.
- Use thongs to carefully remove each jar from the water and sit them on a countertop protected with a towel. As the jars cool, the pressure inside will create a vacuum seal.
- Once the jars are completely cool, press down the lids. If they don’t make a popping sound, you have successfully bottled your pickled vegetable.
Beyond the classic cucumbers, you can pickle any vegetable you like. Here are some examples:
Basic quick pickle brine
This basic pickle brine is kept simple so it can be used with virtually any vegetable. For more flavor punch, sway in different vinegars or add additional spices.
Active time: 20 minutes
Total time: 35 minutes, plus cooling time
Ingredients: (Makes 4 ½ cups)
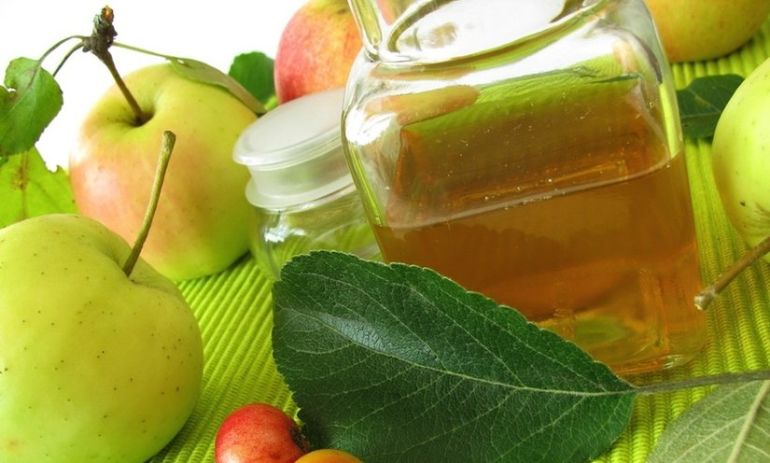
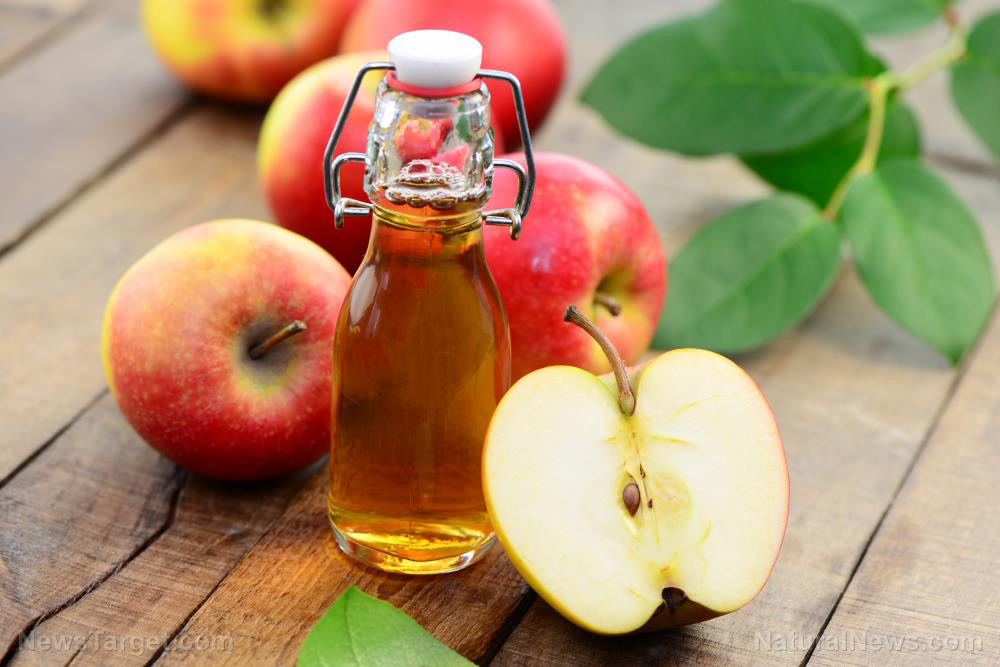
- 2 cups apple cider vinegar
- ½ cup sugar
- 2 tablespoons kosher salt
- 1 tablespoon black peppercorns
- 1 tablespoon mustard seeds
- 10 medium carrots (about 1 ½ lbs.), peeled, quartered, sliced crosswise into 3-inch segments
Step 1 – Bring vinegar, sugar, salt, peppercorns, mustard seeds and 2 cups water to a boil in a medium pot over high heat, stirring occasionally. Reduce heat to medium-low and simmer for 10 minutes.
Step 2 – Place carrots in a jar (divide among several containers if necessary). Pour hot brining liquid over carrots. Let cool to room temperature then cover. Chill at least 2 hours before serving.
Spicy garlic pickles
Although we like apple cider vinegar in our base recipe for its slightly mellow flavor, we use white vinegar for this straightforward pickle. The amount of chili flakes to use will depend on how spicy you'd prefer this to be. This brine will be great with green beans or asparagus for a Bloody Mary garnish.
Active time: 20 minutes
Total time: 35 minutes, plus cooling time
Ingredients: (Makes 4 ½ cups)
- 2 cups white vinegar
- ½ cup sugar
- 2 tablespoons kosher salt
- 6 garlic cloves, halved
- 1 Fresno chili, seeded, thinly sliced into rings
- 1 pound button mushrooms, trimmed, quartered
- 1 tablespoon crushed red pepper flakes
Step 1 – Bring vinegar, sugar, salt and 2 cups water to a boil in a medium pot over high heat, stirring occasionally. Reduce heat to medium-low and simmer for 10 minutes.
Step 2 – Place garlic, chili, mushrooms and red pepper flakes in a glass jar (divide among several containers as necessary). Pour hot brining liquid over the mushroom mixture. Let cool to room temperature, then cover. Chill at least 2 hours before serving.
Ginger-dill pickles
Cucumbers are the classic pickle, but this brine works with anything from zucchini or yellow squash to cherry tomatoes to bell peppers.
Active time: 15 minutes
Total time: 25 minutes, plus cooling time
Ingredients: (Makes 8 cups)
- 1 1-inch piece ginger, peeled, thinly sliced lengthwise
- 4 garlic cloves, halved
- 2 cups white wine vinegar
- ½ cup sugar
- 2 tablespoons kosher salt
- 2 tablespoons coriander seeds
- 10 Persian cucumbers, quartered
- 12 sprigs dill
Step 1 – Bring ginger, garlic, vinegar, salt, salt, coriander seeds and 2 cups water to a boil in a medium pot over high heat, stirring occasionally. Reduce heat to medium-low and simmer for 10 minutes.
Step 2 – Place cucumbers and dill in a bottle jar (divide among several containers, as necessary). Pour hot brining liquid over cucumbers and dill. Let cool to room temperature, then cover. Chill at least two hours before serving.
Watch the video below to learn more food preservation techniques for long-term storage and nutrition.
Follow Veggie.news for more articles related to vegetables, diet and superfoods.
Sources include:


Please contact us for more information.

