


Do you need to sterilize your jars before using them?
The answer is both yes and no. Within the canning community, a lot of practitioners – both experienced and beginners – have varying thoughts on sterilizing jars.
Some canning practitioners say that if the recipe takes more than 10 minutes to can, there's no need to sterilize the jars beforehand. They argue that the heat in the canning process will be enough to kill bacteria, fungi and yeast found in the food and jars.
Other practitioners recommend always sterilizing the jars before use regardless of the heating process. From their standpoint, you can never be too sure that washing the jars with soap and water beforehand is enough.
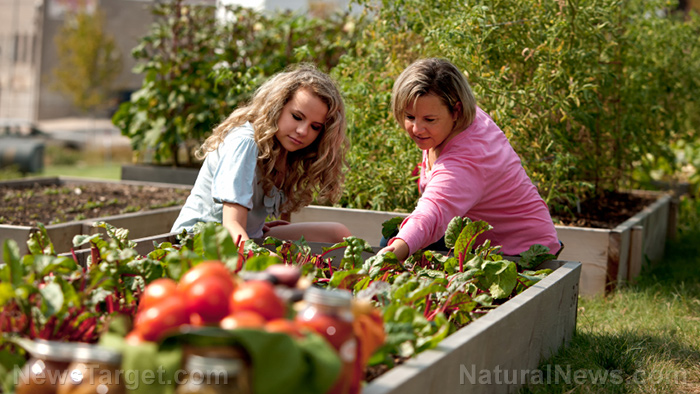
Whether you agree with the former or latter belief, sterilizing the jars before use does not harm anyone. It may take more time and effort, but you can simply do this while you're preparing your fruits and vegetables for canning. (Related: Tips for basic home food preservation and canning.)
3 Methods for sterilizing jars
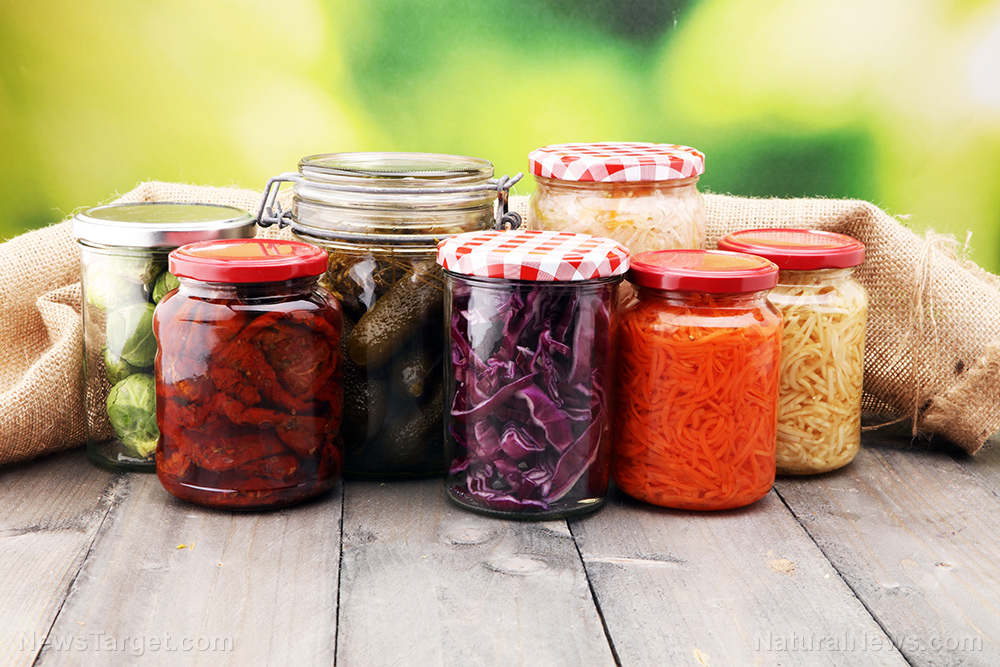
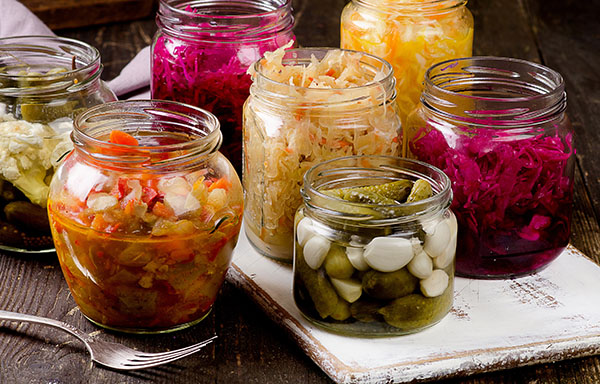
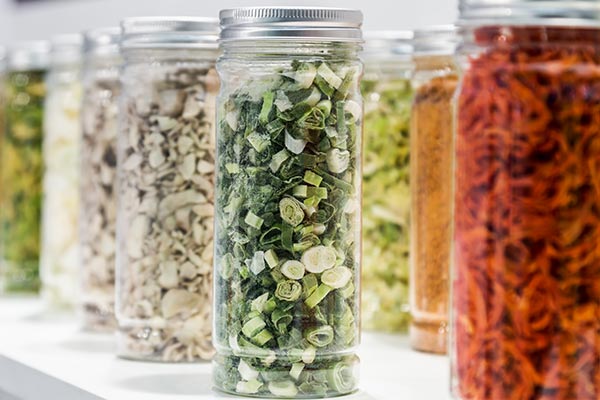
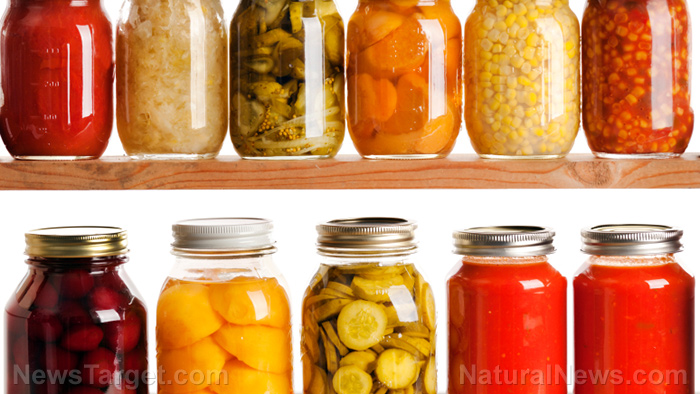
Sterilization is an important part of the preservation process. Placing food inside a dirty jar will contaminate it and significantly reduce its shelf life.

If you choose to sterilize your jars, here are three methods you can use:
Oven method
This is arguably the most efficient way to sterilize jars. It takes a bit longer than the other methods, but this only takes up to 30 minutes to accomplish. That's roughly the same amount of time it takes for you to prep your fruits and vegetables for canning. To do the oven method, follow the steps below:
- Preheat your oven to 275 F. Do not raise the temperature any hotter than this or the jar might break.
- Place two sheets of newspaper on each oven shelf except for the floor of the oven. You can also use a new cookie sheet. If you're using a gas stove, keep it away from the flames.
- Carefully put the jars on the oven shelves. Make sure that they're not touching each other.
- Close the over door and let the jars heat up for at least 20 minutes.
- Afterward, gently remove the jars from the oven. Place the food inside the jars while they're still hot.
Boiling water method
If you're partial to the water bath canning method, you already have all the tools needed for this process. To do the boiling water method, follow the steps below:
- Place the jars in the water-bath canner. If you don't have one, you can use a rack set inside a deep pot. Flip the jars upside-down to ensure that the hot water goes in.
- Submerge the jars in the water and let the water come to a boil.
- Keep the jars beneath the boiling water for 15 minutes.
- Afterward, turn off the heat, but don't remove the jars yet. Let them stay in the pot to keep them hot until you're ready to place food inside.
Add a minute of boiling time per 1,000 feet of elevation if you're in a high-altitude area.
Dishwasher method
This method is only applicable if you have a dishwasher with a high-temperature setting. If you do have one, here's how you can sterilize your jars:
- Fill the dishwasher with cold jars.
- Turn on the dishwasher and let it run on its warmest setting. The duration can either be the minimum run time or a single rinse cycle.
- Don't remove the jars to keep them warm until the food is ready.
- Remove the jars one by one from the dishwasher to place food inside.
Note: Never place cold food in a warm jar or vice-versa. The opposing temperatures may break the glass.
Whether you choose to sterilize the jars or not, make sure to properly wash them first. Do this with detergent and water. Keep a lookout for cracks, dust and small pieces of debris. If you find a jar that may no longer be suitable, set it aside for other uses instead. After washing them, make sure to dry them thoroughly with a clean towel.
Sterilizing jars is only one of the key steps in preserving food. Find out more about food preservation at FoodSupply.news.
Sources include:


Please contact us for more information.

