


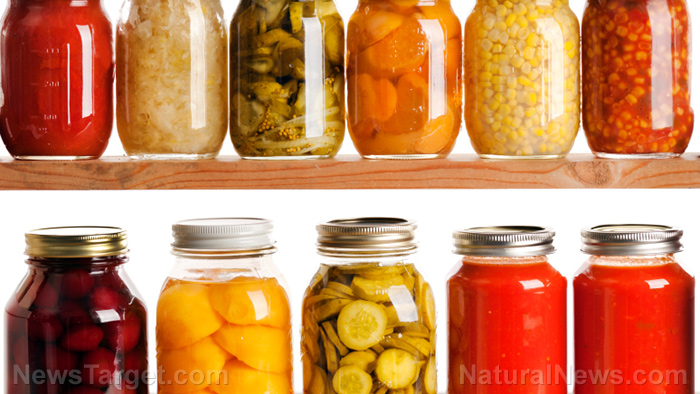
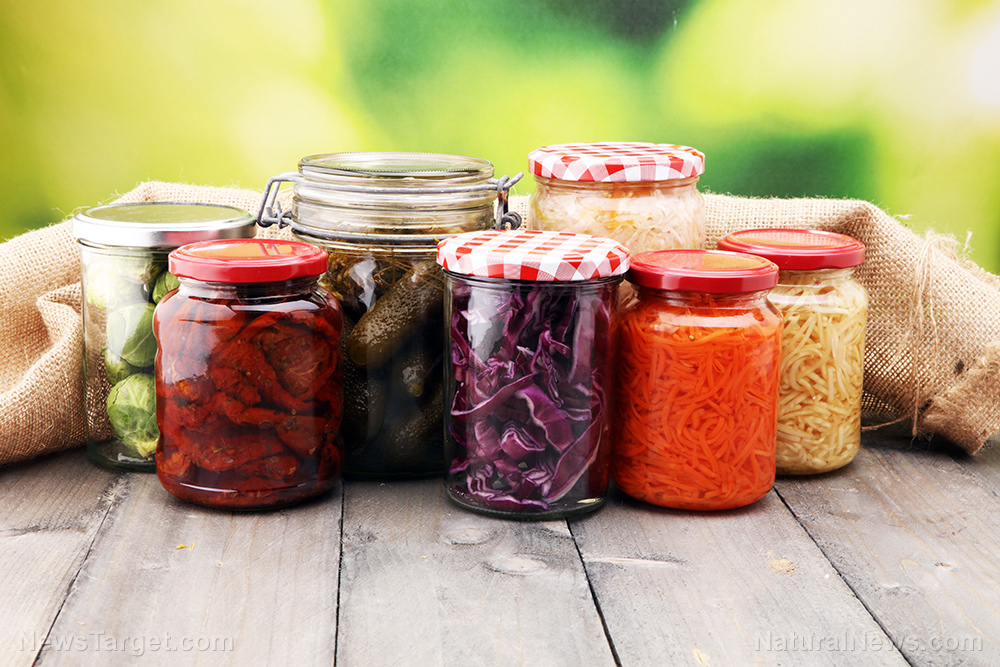
Although there are other ways to preserve food, canning is one of the most effective methods for long-term storage. Canning is mainly used to store food and kill bacteria that cause food spoilage or those that cause disease when consumed. There are two methods of canning – water bath and pressure canning. Water bath canning involves packing clean jars with the food product, sealing, and submerging the jars in boiling water for some time to create pressure within the jars. The pressure will then create a vacuum seal when the jar cools. On the other hand, pressure canning has the similar process but with less water, higher temperatures, and more pressure. This method is also more appropriate compared to the former for food products that are less acidic, including meats, seafood, poultry, and dairy products. (Related: Shortcuts can kill: Learn how to can food correctly for healthy, long-term food storage.)
Here are the steps on how to start canning:
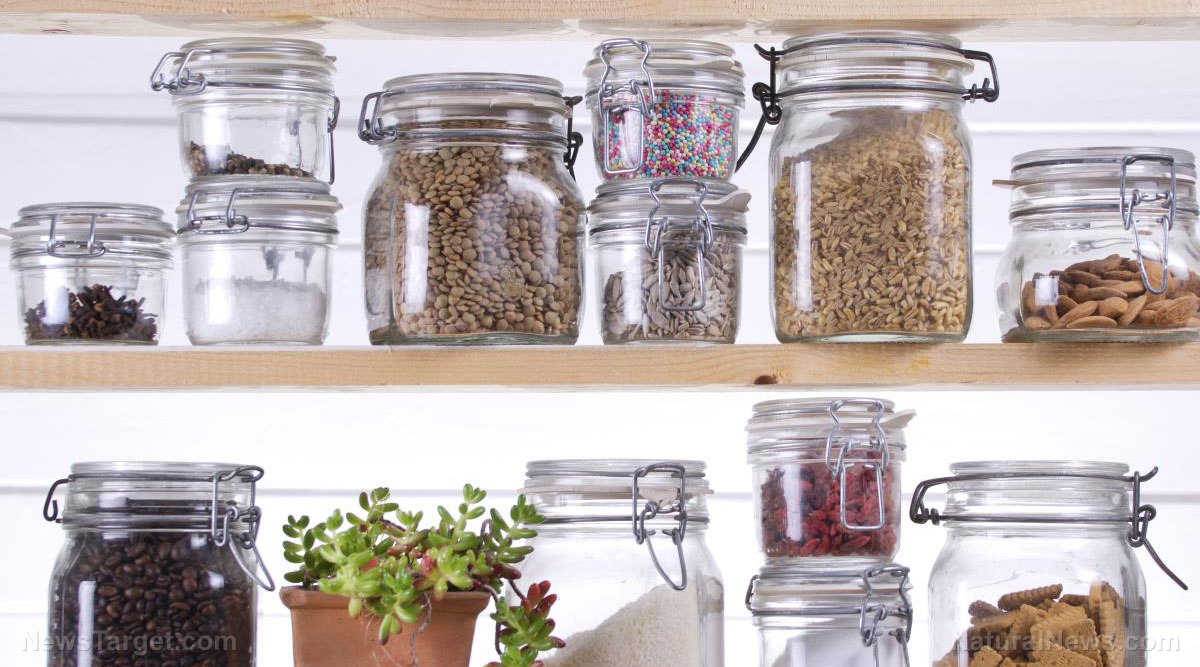
- Prepare your materials – You will need a water bath canner, pressure canner, jar funnel, jar lifter, lid lifter, bubble remover and headspace tool, canning jars, canning lids, kitchen timer with alarm, dish towels, and clean, damp washcloth.
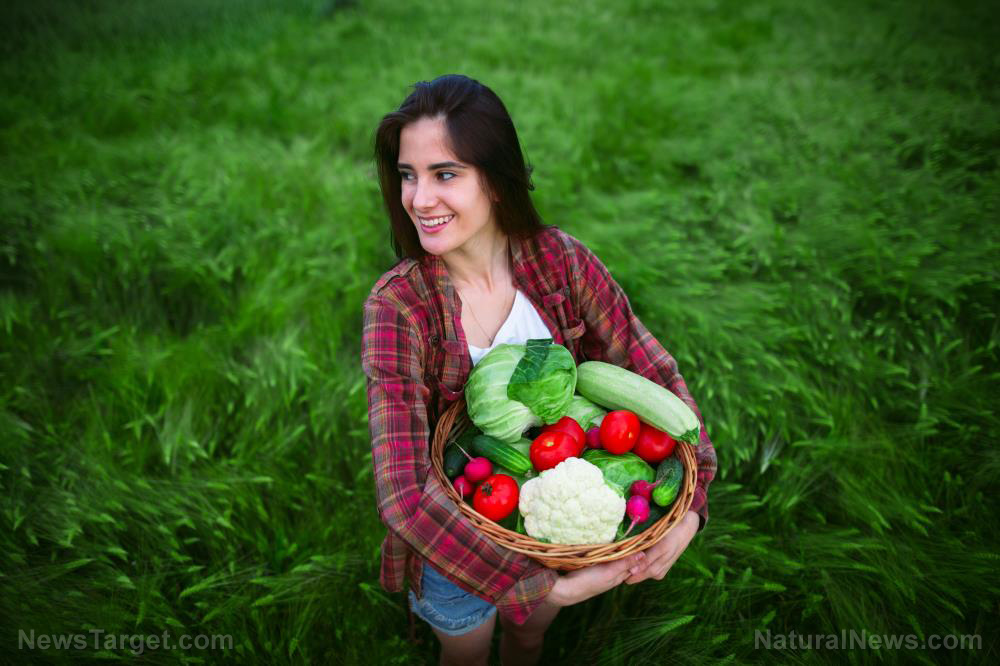
- Prepare your food – Wash, process, and prepare the foods to be canned. You can chop or process your food. Some foods can also be packed whole.
- Warm up the canning pots – Warm up the canning pots before or during the packing process so that the temperature is close to the point of canning. Moreover, activate the gum adhesive on the lids by putting them in a pan of simmering water. You can take these out of the water by the lid lifter quickly before placing on the jar.
- Pack the jars – After preparing the food, they can now be put into jars. There are two ways to pack jars: cold-pack method, which is mostly used for fruits, and hot-pack method, which is commonly used for vegetables and meats. In the cold-pack method, the raw food is packed cold in the jars and processed or cooked in the container. In the hot-pack method, foods should be cooked first before packing them. Precooking shrinks the food and removes the air that may be present in the food, making it easier to pack. The hot food should be put into the jars right away and sealed at once. Ensure that there is enough headspace between the product and the lid, usually a quarter or half an inch. This will allow the product to expand during processing and create an air vacuum.
- Seal the jars – Always wipe the rim of the jar with a warm, damp washcloth to get rid of any food or residue that can hinder the proper sealing of the lid. After that, load the canner and seal the jars.
- Process the canned foods – Carefully put the filled jars into the canning pot. Once the pot of water starts to boil, start your timer. The duration of the process will vary depending on the food.
- Remove the jars from the canner – This is where the methods of canning differ. In the water bath method, you must remove the product from the canner almost immediately after the processing. Then, lift the jar rack and remove the jars from the canner using the jar lifter. Put them on top of the dishtowels. Cover the jars with the towels and let them cool. As the jar cools, you will hear pings; the sound jars make when the lid finishes sealing. In pressure canning, because there is too much pressure in the canner itself, let that pressure diminish before removing the lid and retrieving the jars. You can do this by letting the canner to cool slightly to deflate the pressure. If your canner has a release valve that you can safely handle, you can relieve the pressure through the valve and remove the lid. Follow the same method of retrieval like in the water bath method. After the jars have cooled completely, check their seals. The lids must be indented if they're fully sealed.
- Store the canned foods – Label and date all canned foods, then store them in a cool, clean, dry place at temperatures between 50–70 F. Avoid moisture, light, and heat.

Learn more about how to prepare survival food by going to FoodSupply.news.
Sources include:


Please contact us for more information.

